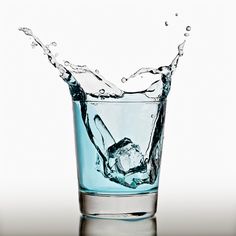
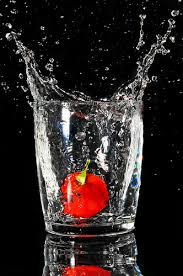
Project 1: Water Droplet Photography
Directions:
For this project we will be experimenting with photographing water droplets. The focus of this project is to learn about:
- Shutter Speed - How fast the shutter opens and closes
- Lighting - Where your lighting should be and how it effects your subject (water)
- Manual Camera Controls - Allows for the manual control of the shutter speed and other functions of the camera
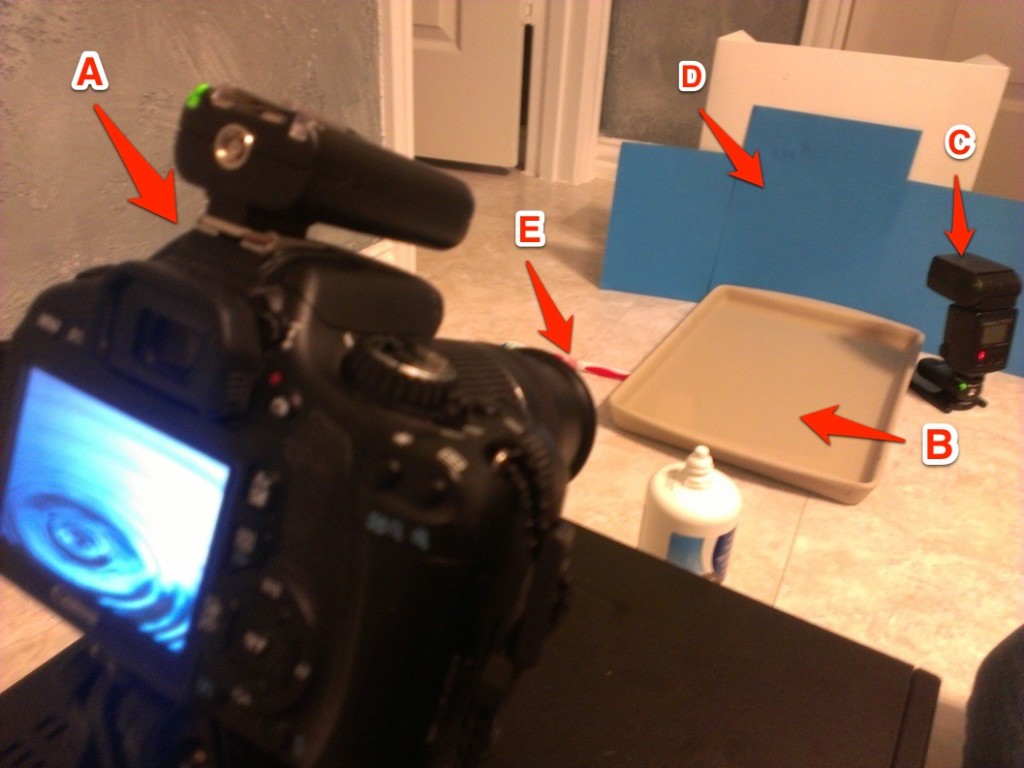
How to Set-up and Take Pictures
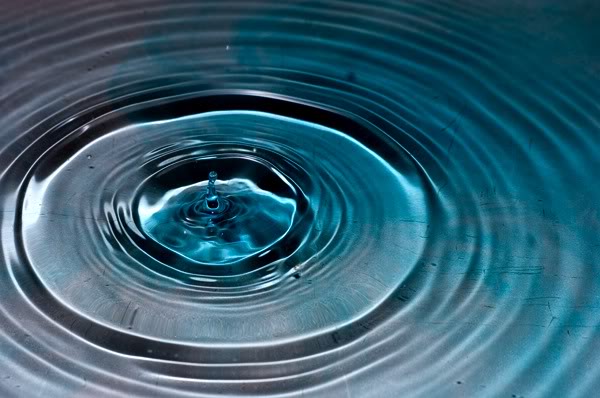
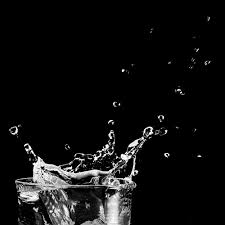
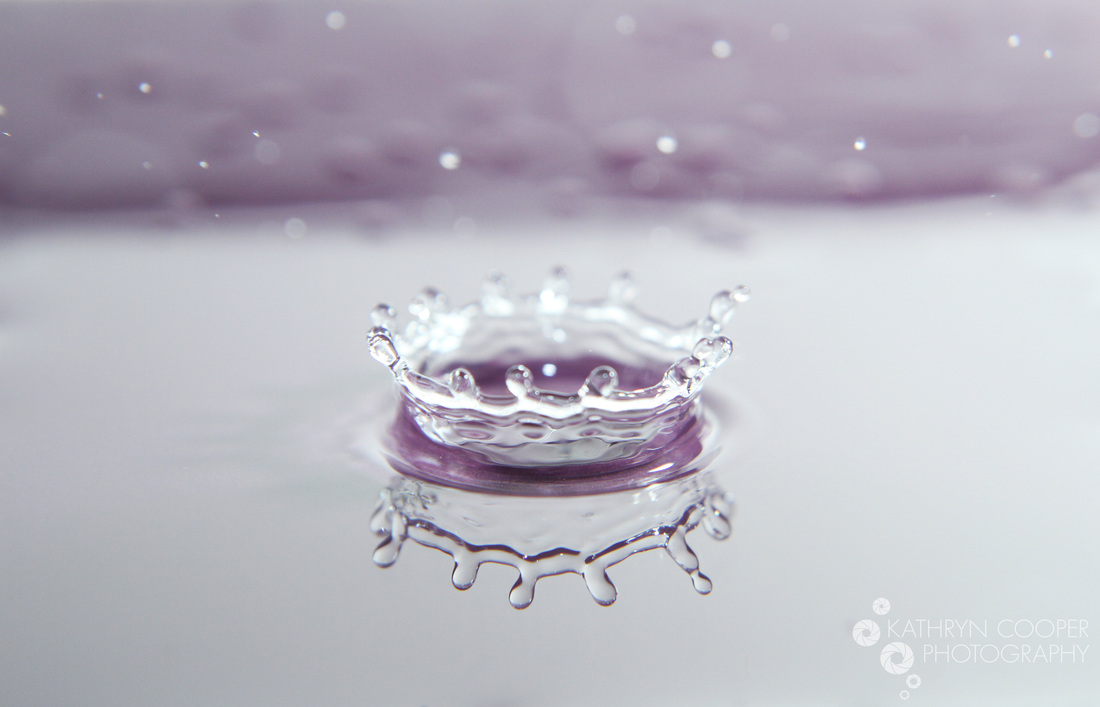
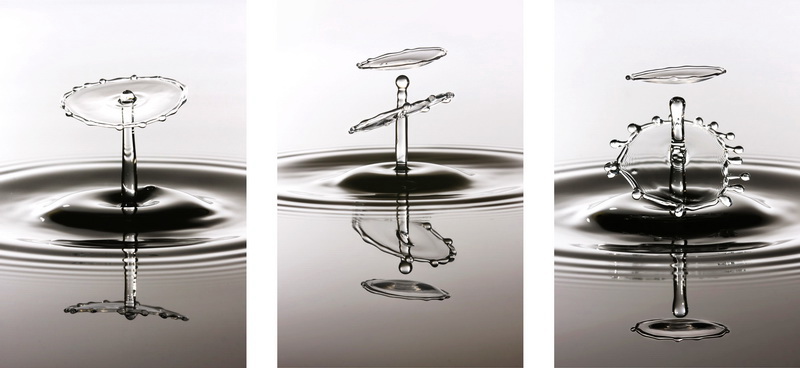
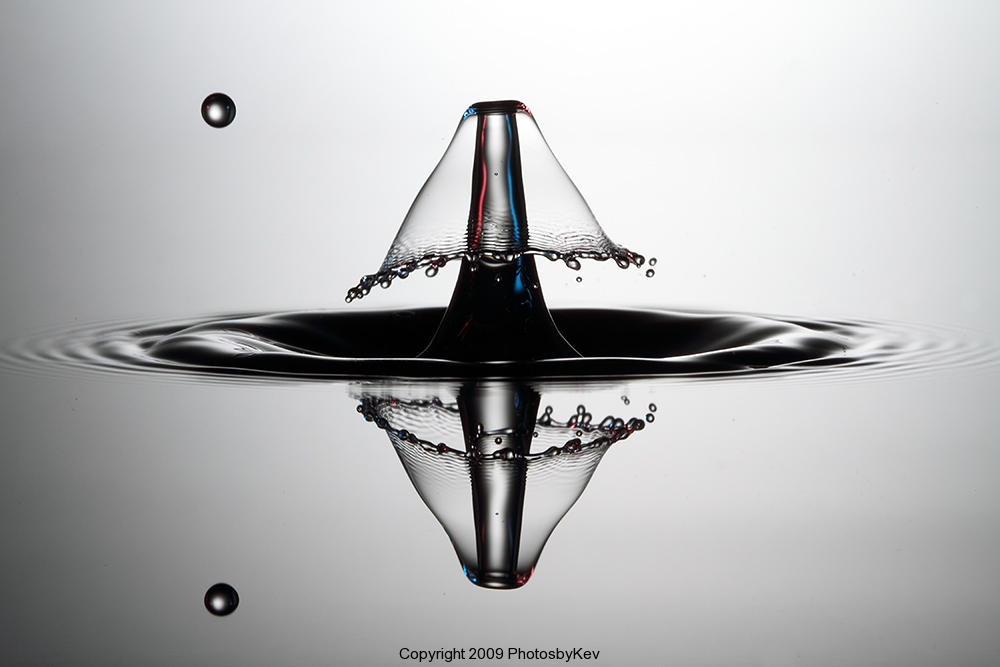
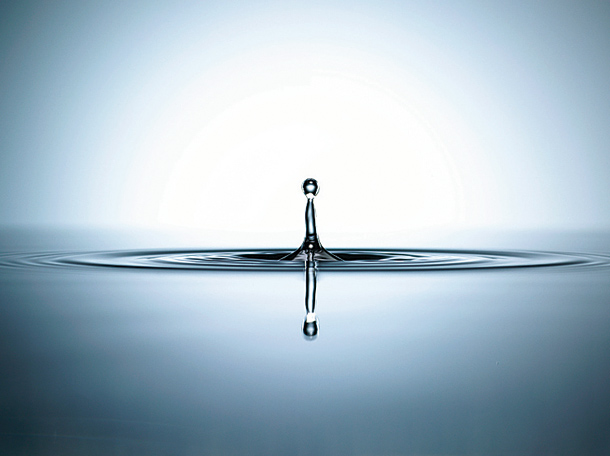
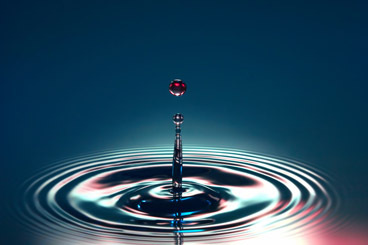
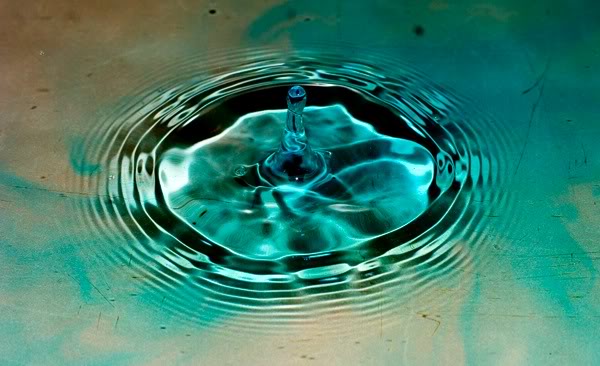
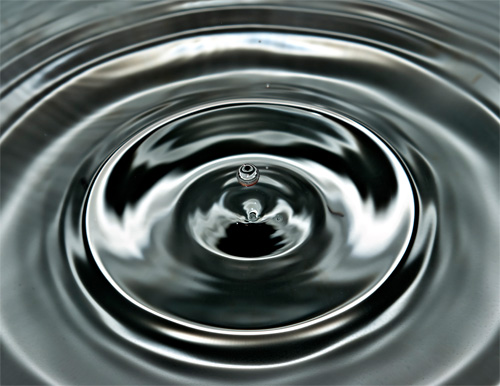
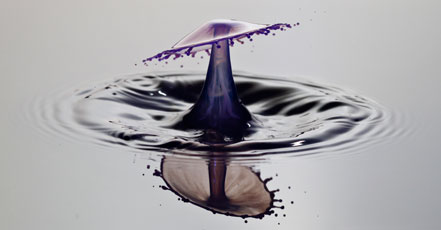
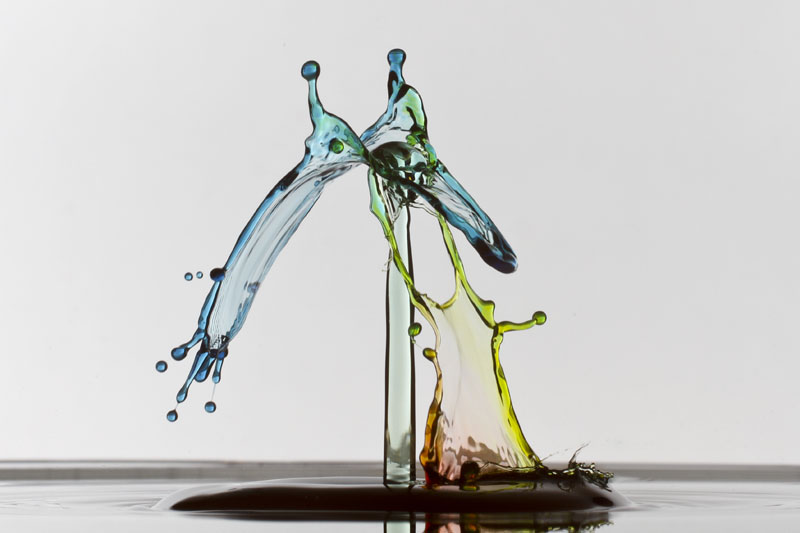
A simple water drop photography set-up And finally, for those wanting quick results, here is our simple guide to capturing water drops in action. You don’t need costly kit to get impressive results:
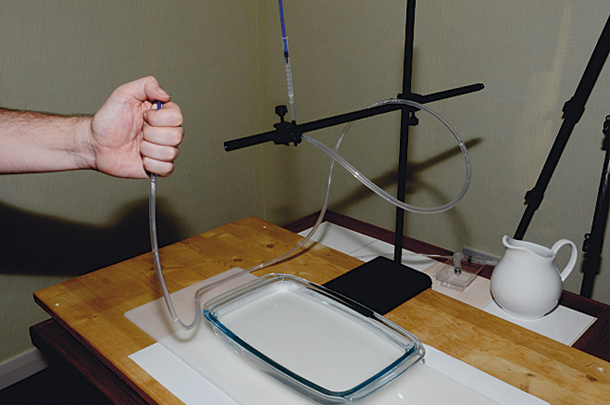
Step 1: Create the drops
We used a syringe and some plastic tubing attached to a simple clamp-stand to produce our drops. It’s important that the drop falls in the same place each time, and a small 1ml syringe allowed us to control the droplets accurately.

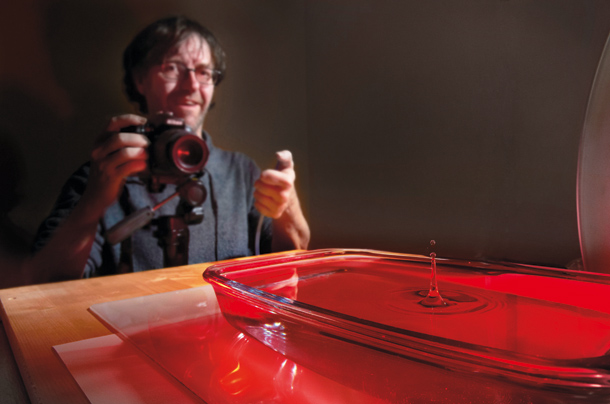
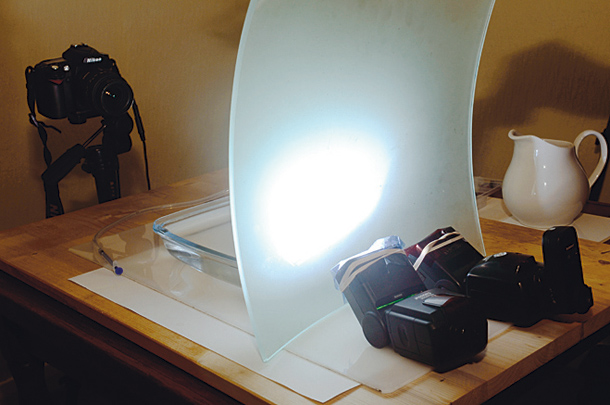
Step 2: Think about lighting
Placing a piece of frosted glass behind the water, then lighting it with the off-camera flash, proved to be the easiest way to light our drops. The flash was fired using a radio trigger, and was set to 1/32 power manually.
Placing a piece of frosted glass behind the water, then lighting it with the off-camera flash, proved to be the easiest way to light our drops. The flash was fired using a radio trigger, and was set to 1/32 power manually.

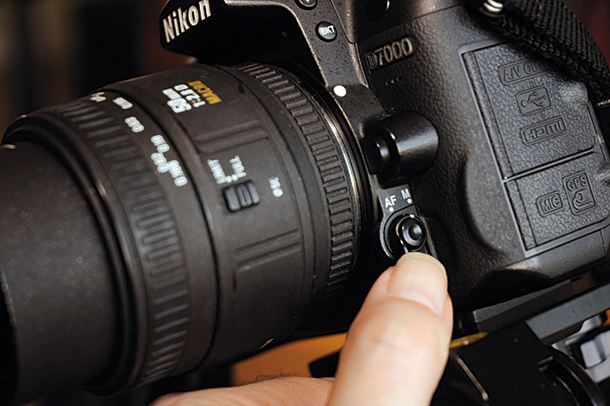
Step 3: Camera settings
With the camera on a tripod we used manual focus and exposure. Some test drops were used to set the focus by placing a ruler in the position where the droplets fell, then carefully pre-focusing on this point.
With the camera on a tripod we used manual focus and exposure. Some test drops were used to set the focus by placing a ruler in the position where the droplets fell, then carefully pre-focusing on this point.